And for Freehand user, this might be a easier way for vector drawing.
Step 1:
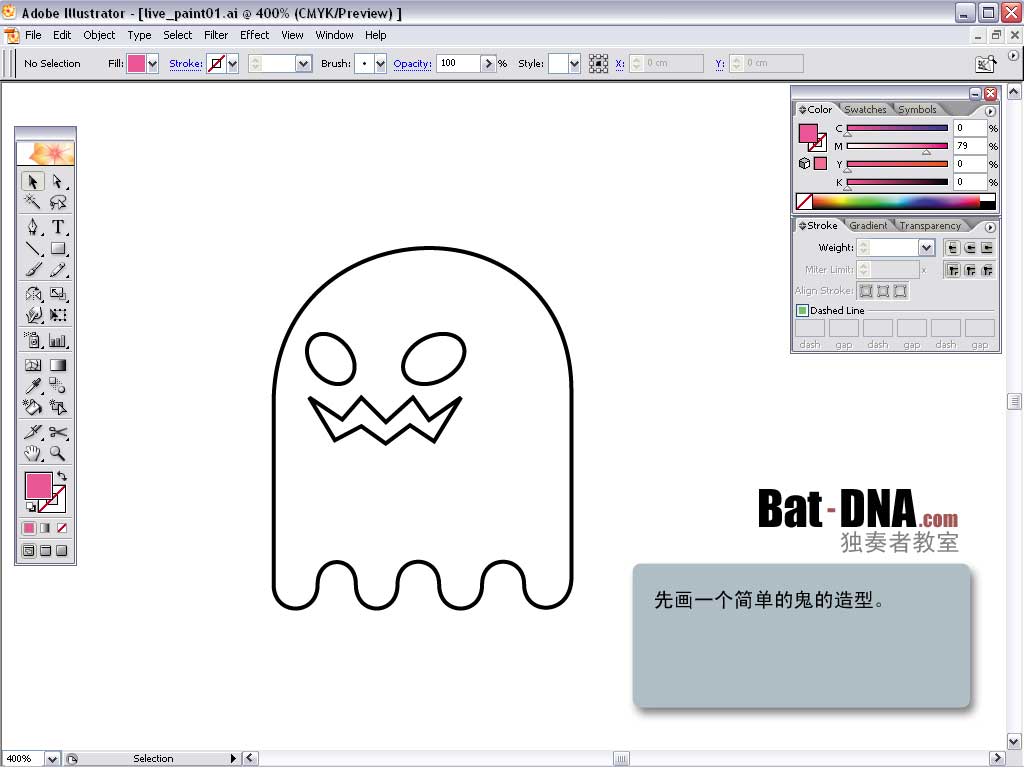
Just draw any simple object that you want, for here I draw a ghost looks like the one in the Pacman game.
Step 2:
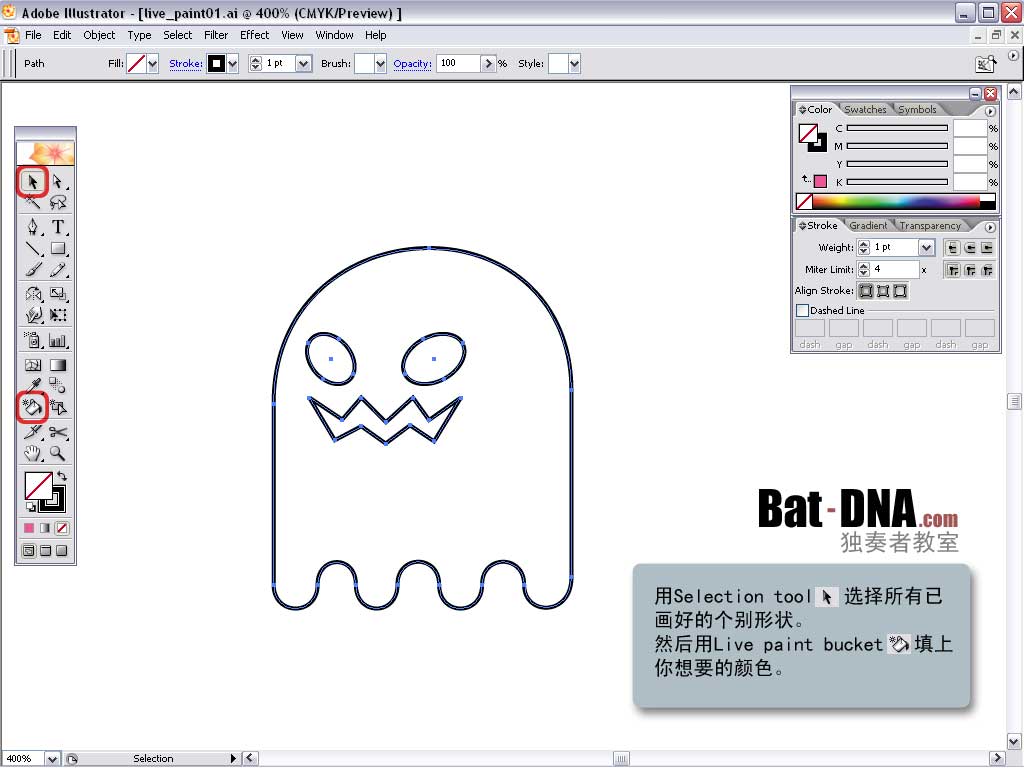
Use Selection Tool to select the object, then click on the Live Paint Bucket and choose the colour you like and fill into the object.
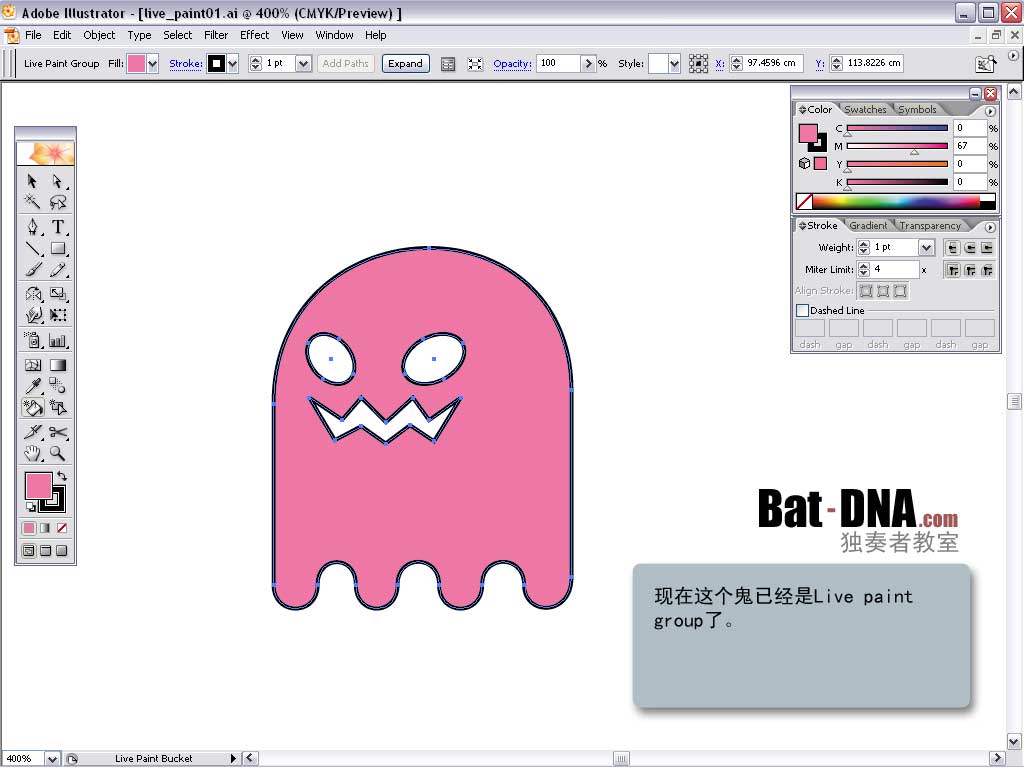
Now this object become a Live Paint Group.
Step 4:
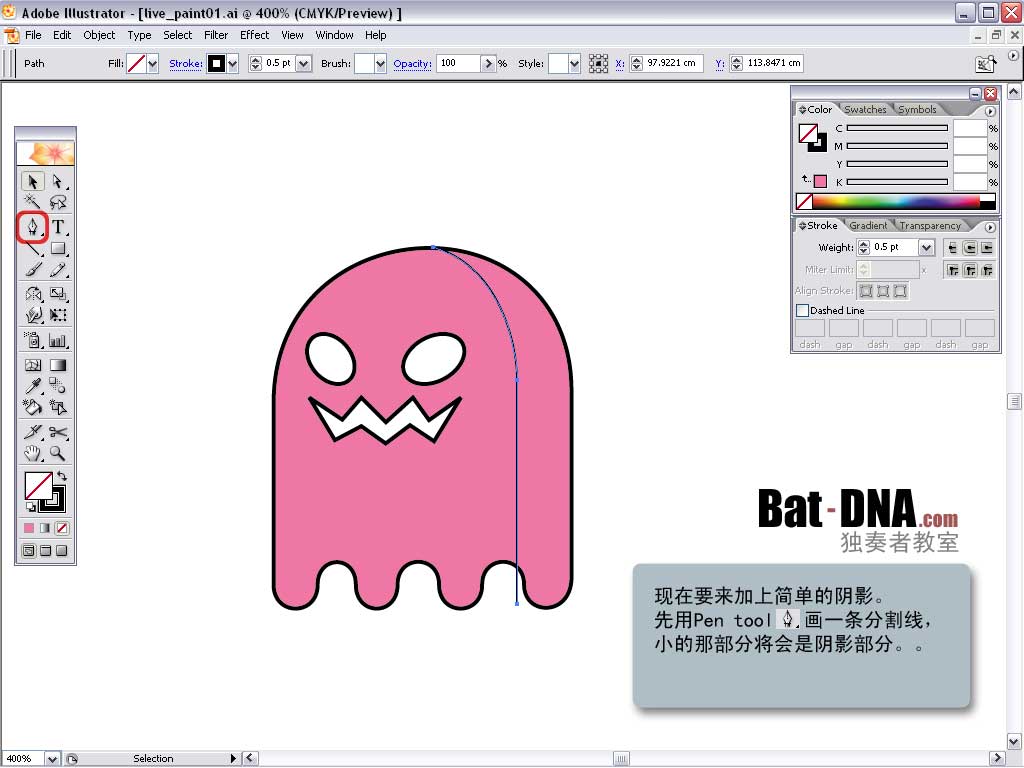
Use Pen Tool to draw a dividing line, the smaller part will be the shading.
Step 5:
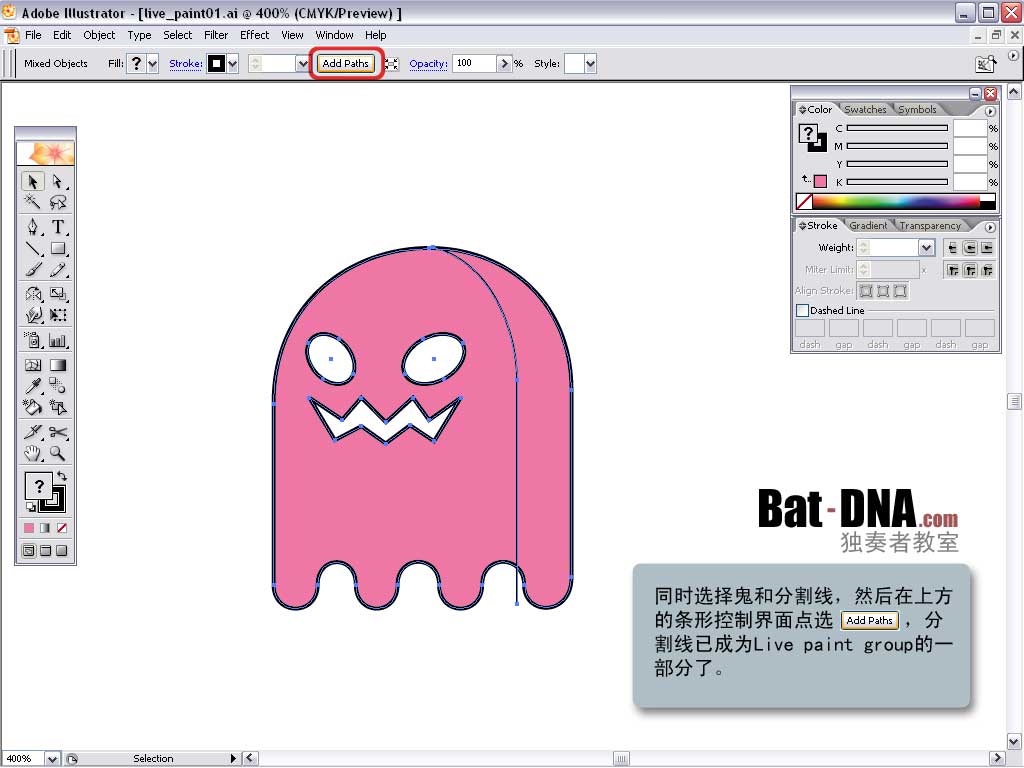
Now select all of them, and click on the Add Path button on the panel above your screen. This will make the dividing line as part of the Live Paint Group.
Step 6:
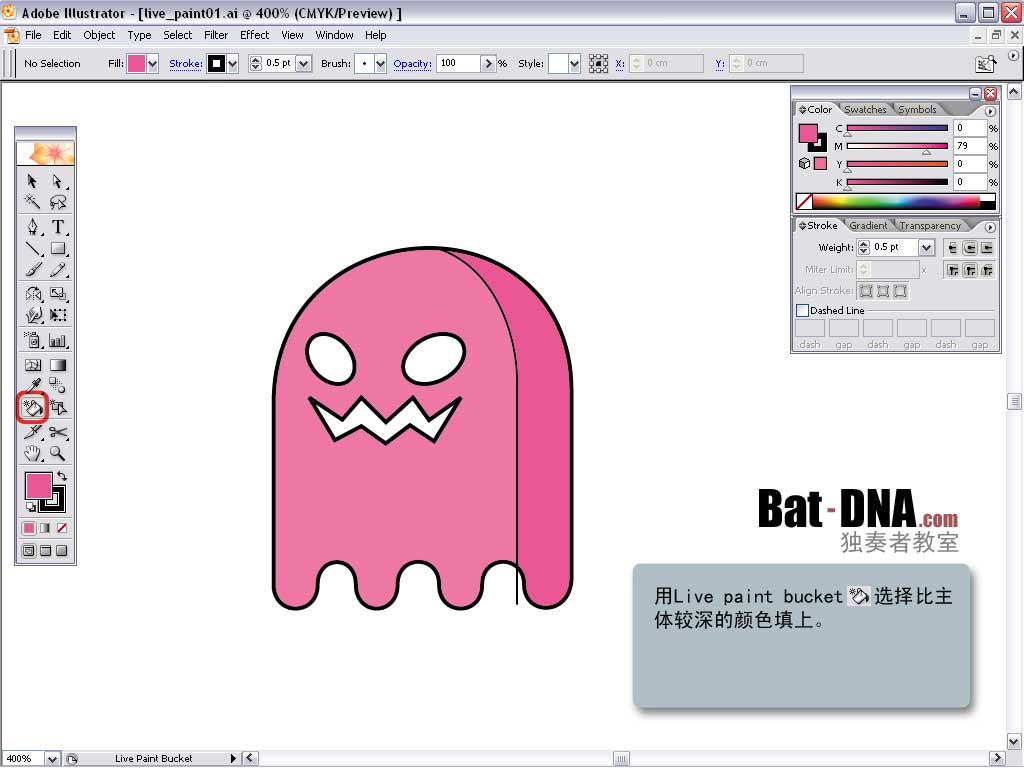
Use Live Paint Bucket to fill a darker colour on the shading part.
Step 7:
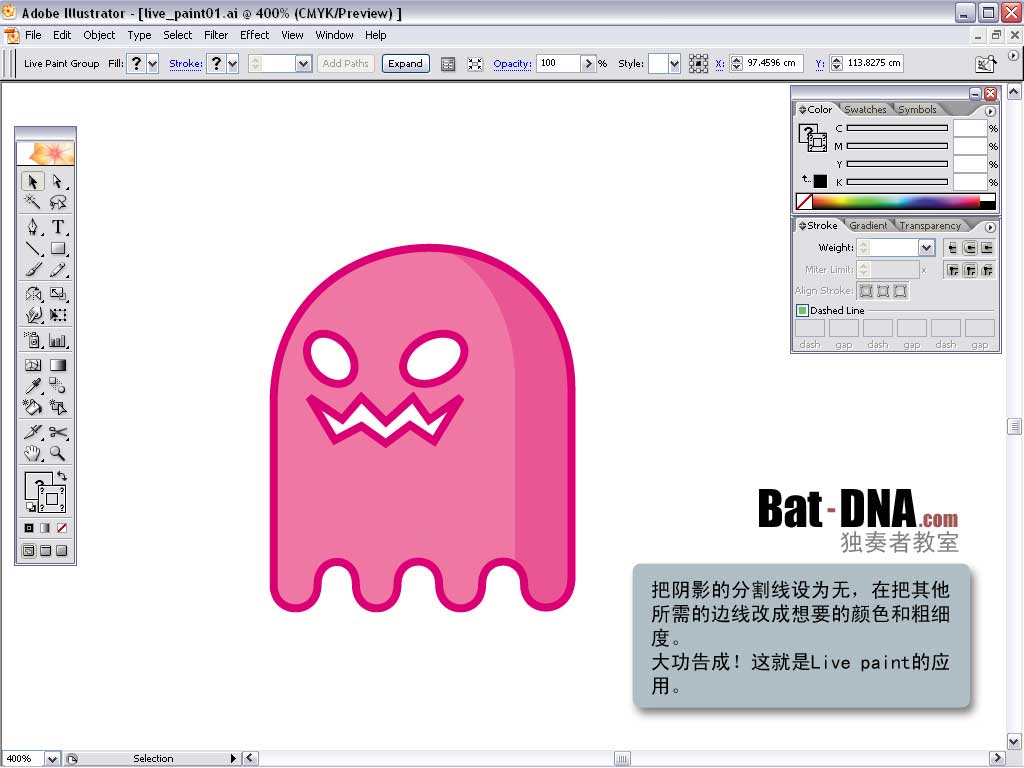
Use the Direct Selection Tool to select the dividing line and change the colour of the line to none. After that you can change the line colour or thickness. It's simple, isn't it?

No comments:
Post a Comment